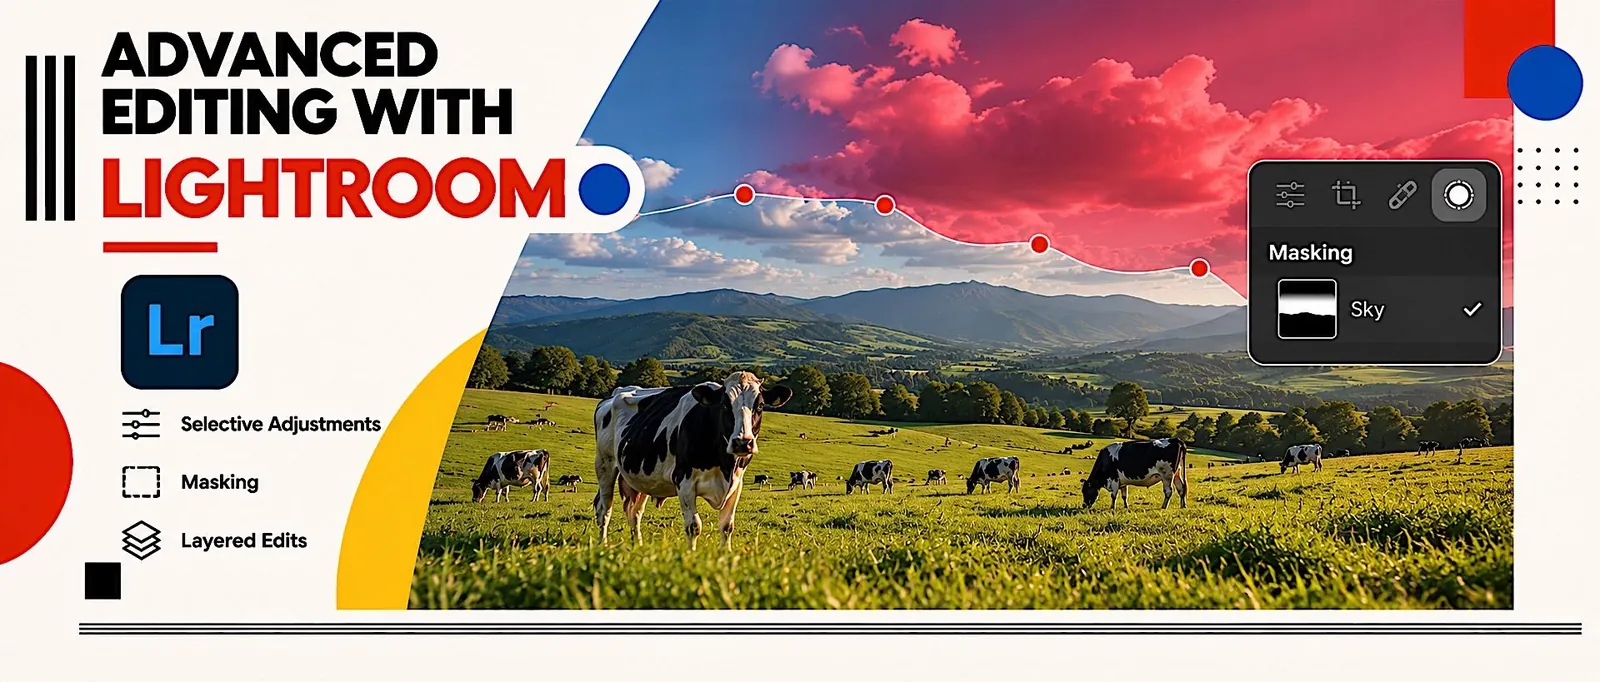
Advanced Editing with Lightroom
Masking: local adjustments that help the photo say what it already wants to say.
START HEREOpen your unit one-sheetPrint it or keep it open while you work.Open ↗A local adjustment only affects the part of the photo you tell it to. Instead of raising the exposure on the whole image, you can raise it only on your subject and leave the background exactly as it was. It's a more surgical way to edit, small, intentional changes that add up to a photo that feels more finished, without ever looking obviously edited.
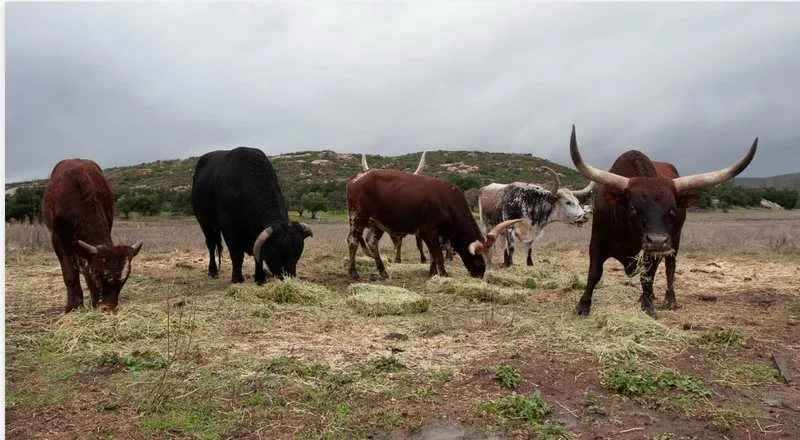
Photo by photoclass.org
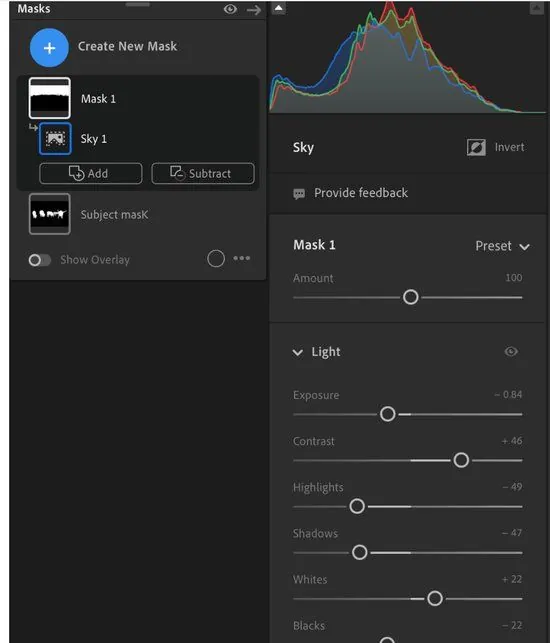
Every mask starts the same way: click Create New Mask, then choose what you want to select. Select Sky finds the sky for you automatically, even where it's a tricky shape between trees, buildings, or a herd of cattle. Once the mask is active, anything you adjust, exposure, contrast, highlights, shadows, only changes inside it. A moody, overcast sky responds well to small moves: pull exposure down a touch, push contrast up to add depth, and pull highlights and shadows in slightly so nothing gets lost at either end. Small, gradual adjustments read as natural; big ones read as a filter.
The Masks panel with Select Sky active, the histogram and Light sliders above only affect what's inside the mask.
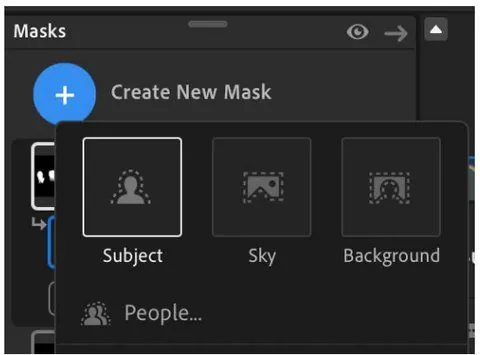
Select Subject works the same way as Select Sky, but for your subject instead of your background. Lightroom automatically outlines whatever it identifies as the main subject of the photo, a herd of cattle, a person, an animal, so you can bring it forward without brightening the rest of the frame, the way the banner photo at the top of this page shows. A small increase in exposure and a touch more brightness is usually enough to make a subject pop; push much further and it starts to look artificially lit.
Choosing Subject from the Create New Mask menu.
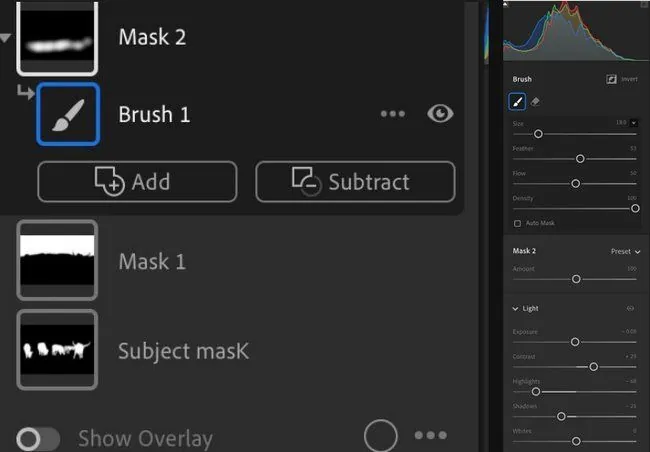
Not every area you want to adjust has a clean edge Lightroom can detect automatically, that's what the Brush is for. Select Create New → Brush, then paint directly over the area you want to adjust, tuning the brush's Size, Feather, and Flow as you go. A soft Feather blends your brush stroke into the rest of the photo so the edit doesn't have a visible edge. Brush masks are the right tool for a foreground that's slightly overexposed, a patch of shadow that needs opening up, or any area with a shape too irregular for an automatic mask.
A Brush mask painted over the foreground (top), and that Brush's Size, Feather, Flow, and Density sliders (bottom).
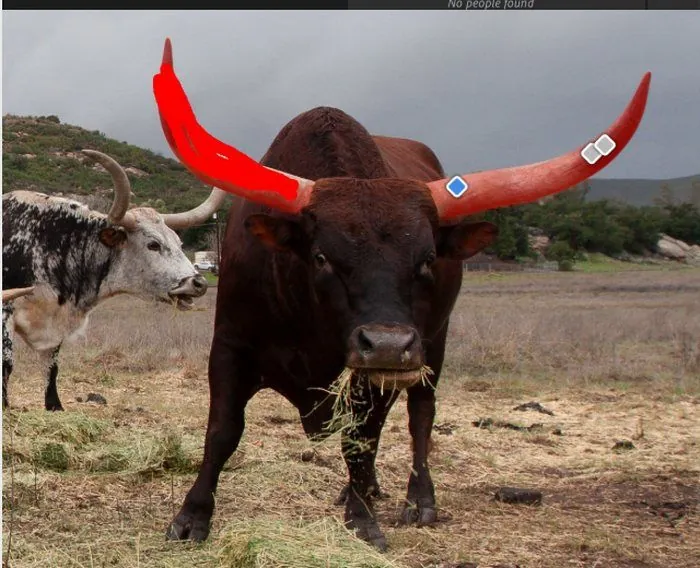
The Object tool sits between Select Subject and the Brush, it's for one small, specific detail you want to isolate on its own, separate from the rest of the subject. Select Create New → Object, then paint loosely over just that detail; Lightroom finds its exact edges for you. It's the right tool when a subject mask is too broad, sharpening just a pair of horns, an eye, or a hand without touching everything else a subject mask would have included.
Using the Object tool to isolate one small detail, the bull's horns, for a targeted adjustment. Photo by photoclass.org.
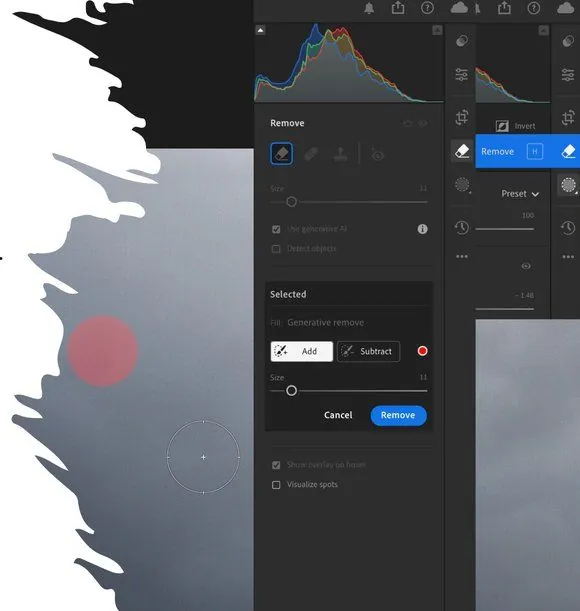
The Remove tool is for cleanup, not enhancement, it erases something from the photo entirely rather than adjusting it. Select the Remove tool, click or brush over a distraction or imperfection, and Lightroom blends the area in using the pixels around it, so there's nothing left to see. It's built for small fixes: a stray piece of trash in the frame, a sensor spot in a clear sky, a distracting object at the edge. Zoom in while you work, and zoom back out often to check that the blend actually looks natural at normal viewing size.
Clicking a distraction with the Remove tool, Lightroom's generative fill blends the spot in automatically.
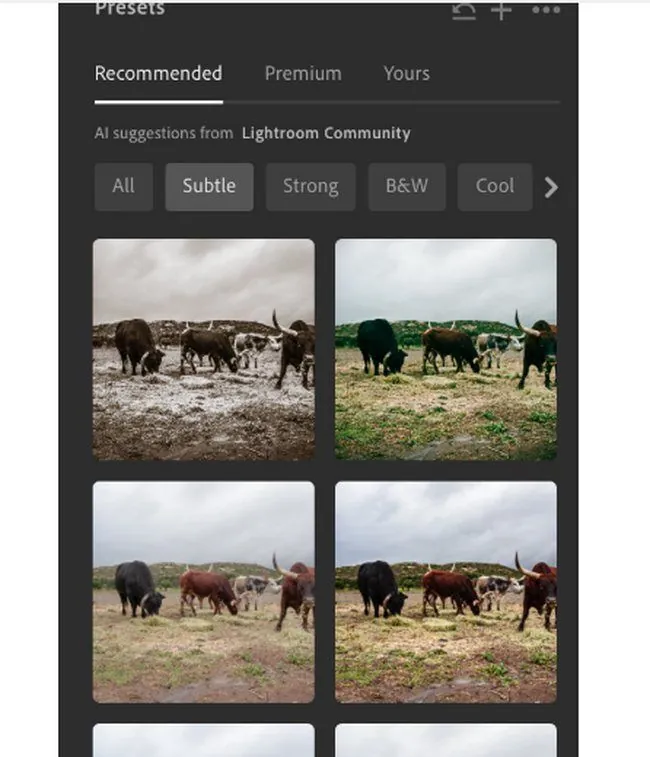
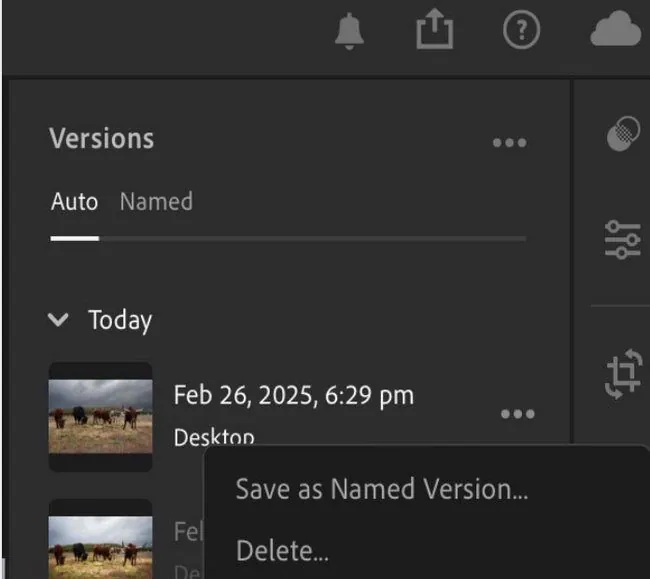
A subtle preset is a good place to start before you begin masking, it gives you a balanced base without doing the work for you, so you're refining a photo instead of starting from nothing. Because Lightroom saves every edit as a version, you can create a new version to test an idea without ever losing your original. When you're finished, export as a high-quality JPG and give the file a name that actually describes what it is.
Previewing subtle preset options before masking, and saving a named version so the original stays untouched.
Keep it natural: local adjustments are powerful, which makes them easy to overdo. If a viewer's first reaction is “wow, that's edited” instead of “wow, that's a great photo,” pull back. The best local adjustments are the ones nobody notices, they just make the photo work.
Today
Practice: Local Adjustments. Ungraded, in class today, Week 8, Monday. One RAW file, edited part by part with masks.